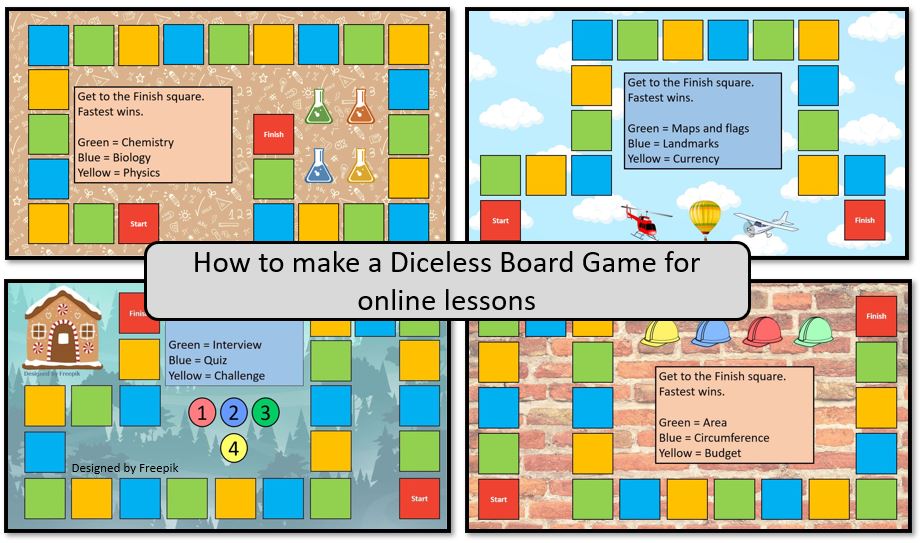
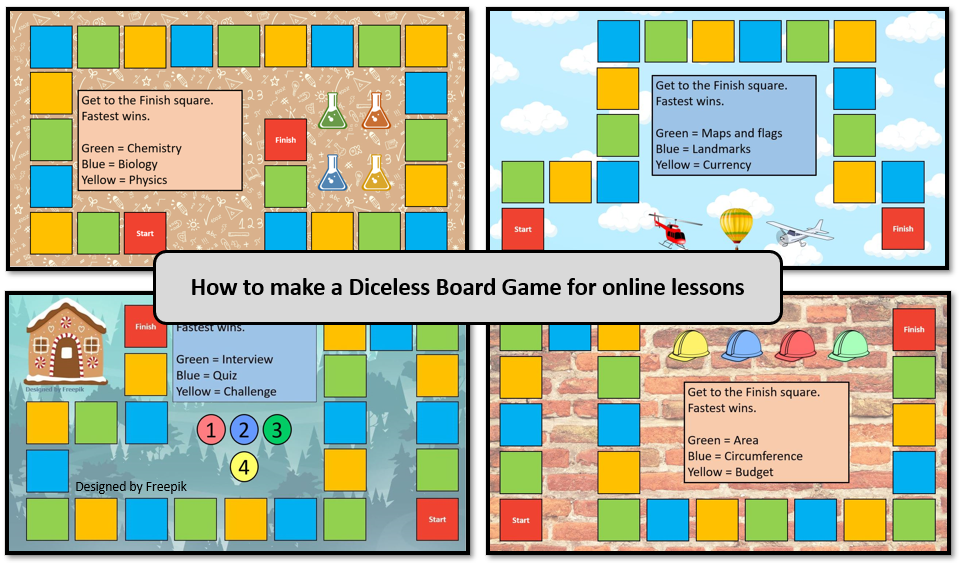
This classroom board game is perfect for remote online lessons and can be adapted for a range of different subjects e.g. maths, science, ESL, geography, history, drama etc.
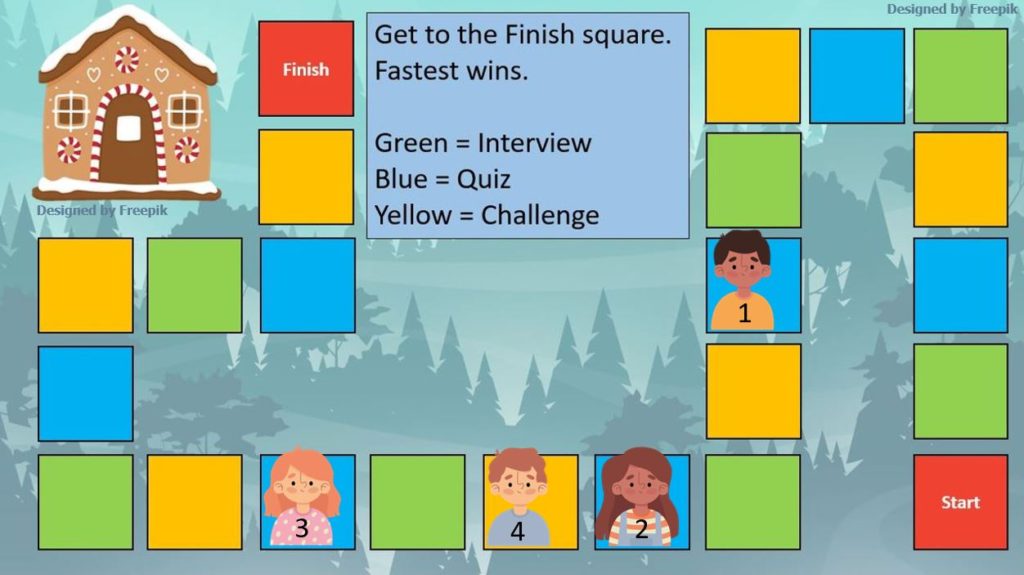
Before we get started with learning how to make this game, let’s learn how to play it.
How to play
- Students choose their playing piece. The teacher then moves all the relevant icons to the start square.
- For the first go, students can pick which colour they would like to start with. The colours are linked to the type of task they will be doing. They also must pick a number that corresponds to an available activity card.
- Once the player has selected an available card slide, the top of the card is deleted to reveal their task.
- The student must then attempt to do their task. After completing the task, the teacher will move that player’s piece as directed on the card e.g. move 3 spaces.
- On the students second go, they must again pick a card that is still available. However, now the colour of their card must match the square they are currently on.
- The game continues like this, until someone reaches the finish square.
*For more a more detailed explanation of the rules plus a playable version of this game, please download this example diceless board game.
How to make your own diceless board game
Materials: PowerPoint, image sharing website e.g. Freepik, Pixabay, Pexels (Optional)
*For images downloaded from Freepik using a Free account, attribution is required. Pixabay and Pexels doesn’t require attribution.
Step 1: Make the board
- Open up a new Powerpoint and add a blank slide.
- Delete the title slide as it isn’t needed.
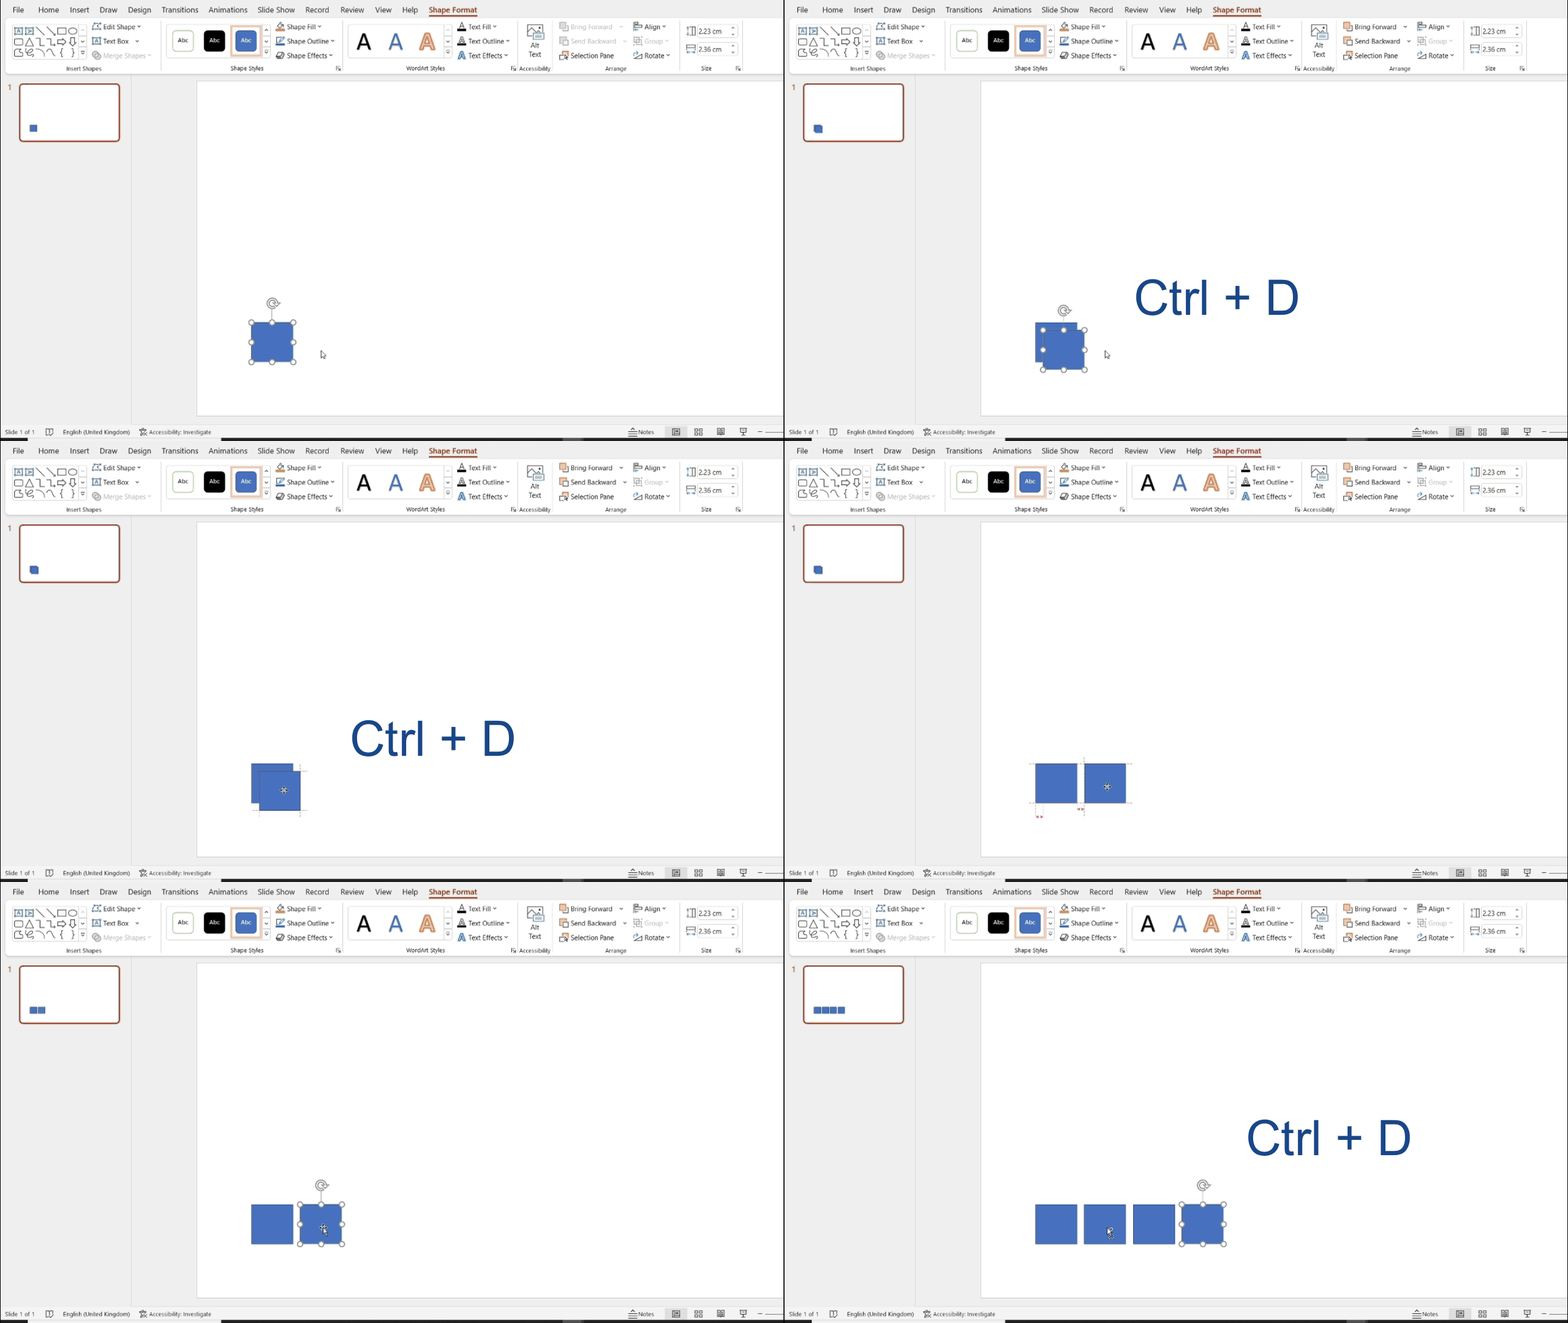
- Create a shape using the rectangle tool from your toolbar.
- Adjust the size of your square until you are happy with it.
- Copy multiple squares onto your slide and arrange them to create your pathway.
TIP! A quick way to build your path is to press ctrl + D while your square is selected. This will duplicate your square. Position your new square where you want and then press ctrl + D again. The next new square will appear with the same spacing as the previous one. This is useful to create a consistently spaced board game quickly.
- Change the colour of your squares e.g. yellow, blue and green for the pathway and red for the start and finish squares.
- Double click on a square to add text e.g. START, FINISH, MISS A GO etc.
Step 2: Add a background
The easiest way to add a background is to create a large rectangle which is the same size as the slide. While that rectangle is selected, click on Arrange and then Send to back to put your background behind the rest of your images.
TIP! Instead of adding a plain coloured background, you can add an image or illustration instead. If you don’t already have an image available, you can download free images from websites such as pixabay that holds a large selection of royalty free images. Once you’ve found an image you like, you can add it as a background by right clicking on your slide in the sidebar and then selecting Format background. In the new panel that opens up, select Picture or text fill and then click on the insert button under the Picture source heading. Find the image you want to add and then click Open.
Step 3: Lock your background
- Use any snipping tool that is available on your computer. You may need to search for it if you haven’t used one before.
- Click on new and drag over your whole slide.
- Save the image.
- Now create a new blank slide and right click on it in the left sidebar. Then select the Format background option.
- Click on Picture or texture fill and then click on the insert button under the Picture source heading.
- Find the image you just saved and click on Open.
- Your board game will now be saved as the background. This will stop the image from accidentally moving when playing your game.
Step 4: Add your player icons
The easiest way to add player icons is to use the shape tools that are in Powerpoint e.g. circles. Once you have found a shape that you like, duplicate that shape a few times. Change the colour of the shapes so that they are be identified easily. To add text e.g. a number or name of the player, double click on the shape and then type your text.
TIP! Instead of using a shape, you can use an image or illustration. If you don’t already have an image available, you can find some free images online. Once, you’ve found an image you like, download that image and place it inside of your Powerpoint. If the image doesn’t have a transparent background, you can remove its background by double clicking on the image and then selecting Remove Background. You may have to use Mark Areas to Keep or Mark Areas to Remove to modify this slightly to make sure only the background is removed.
Step 5: Add activity cards
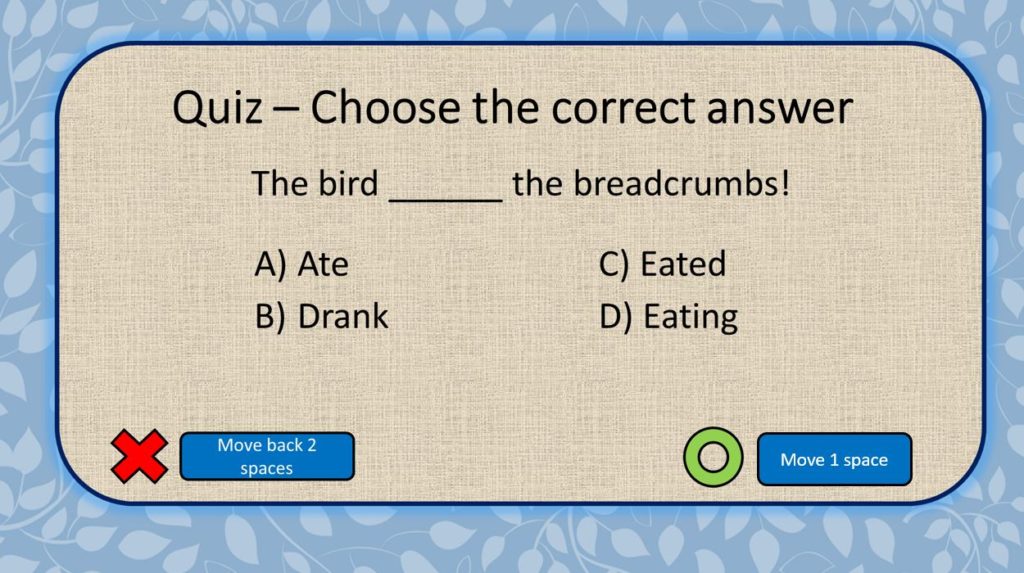
- Create a new Powerpoint slide.
- If you already have revision cards available, you can add these to your slides. Otherwise, you can create new ones.
- Add a large rounded rectangle shape to your slide. To change the texture of your shape, click on the image and then Shape Fill in the toolbar. From the dropdown menu, select Texture and pick a texture that you like.
- Add some text boxes to include all the information you need on your card.
- Add a rectangle that explains how many spaces you will move forward. Vary this number from 1 – 5 to add some variety and excitement to the game.
- Decide whether players will have to move backwards for incorrect answers.
- Once you are happy with you card add another large rectangle. Use the same colours that you used when building your board game pathway.
- Next add a number to this rectangle. When playing the game, this rectangle will be deleted when needed to reveal the activity underneath.
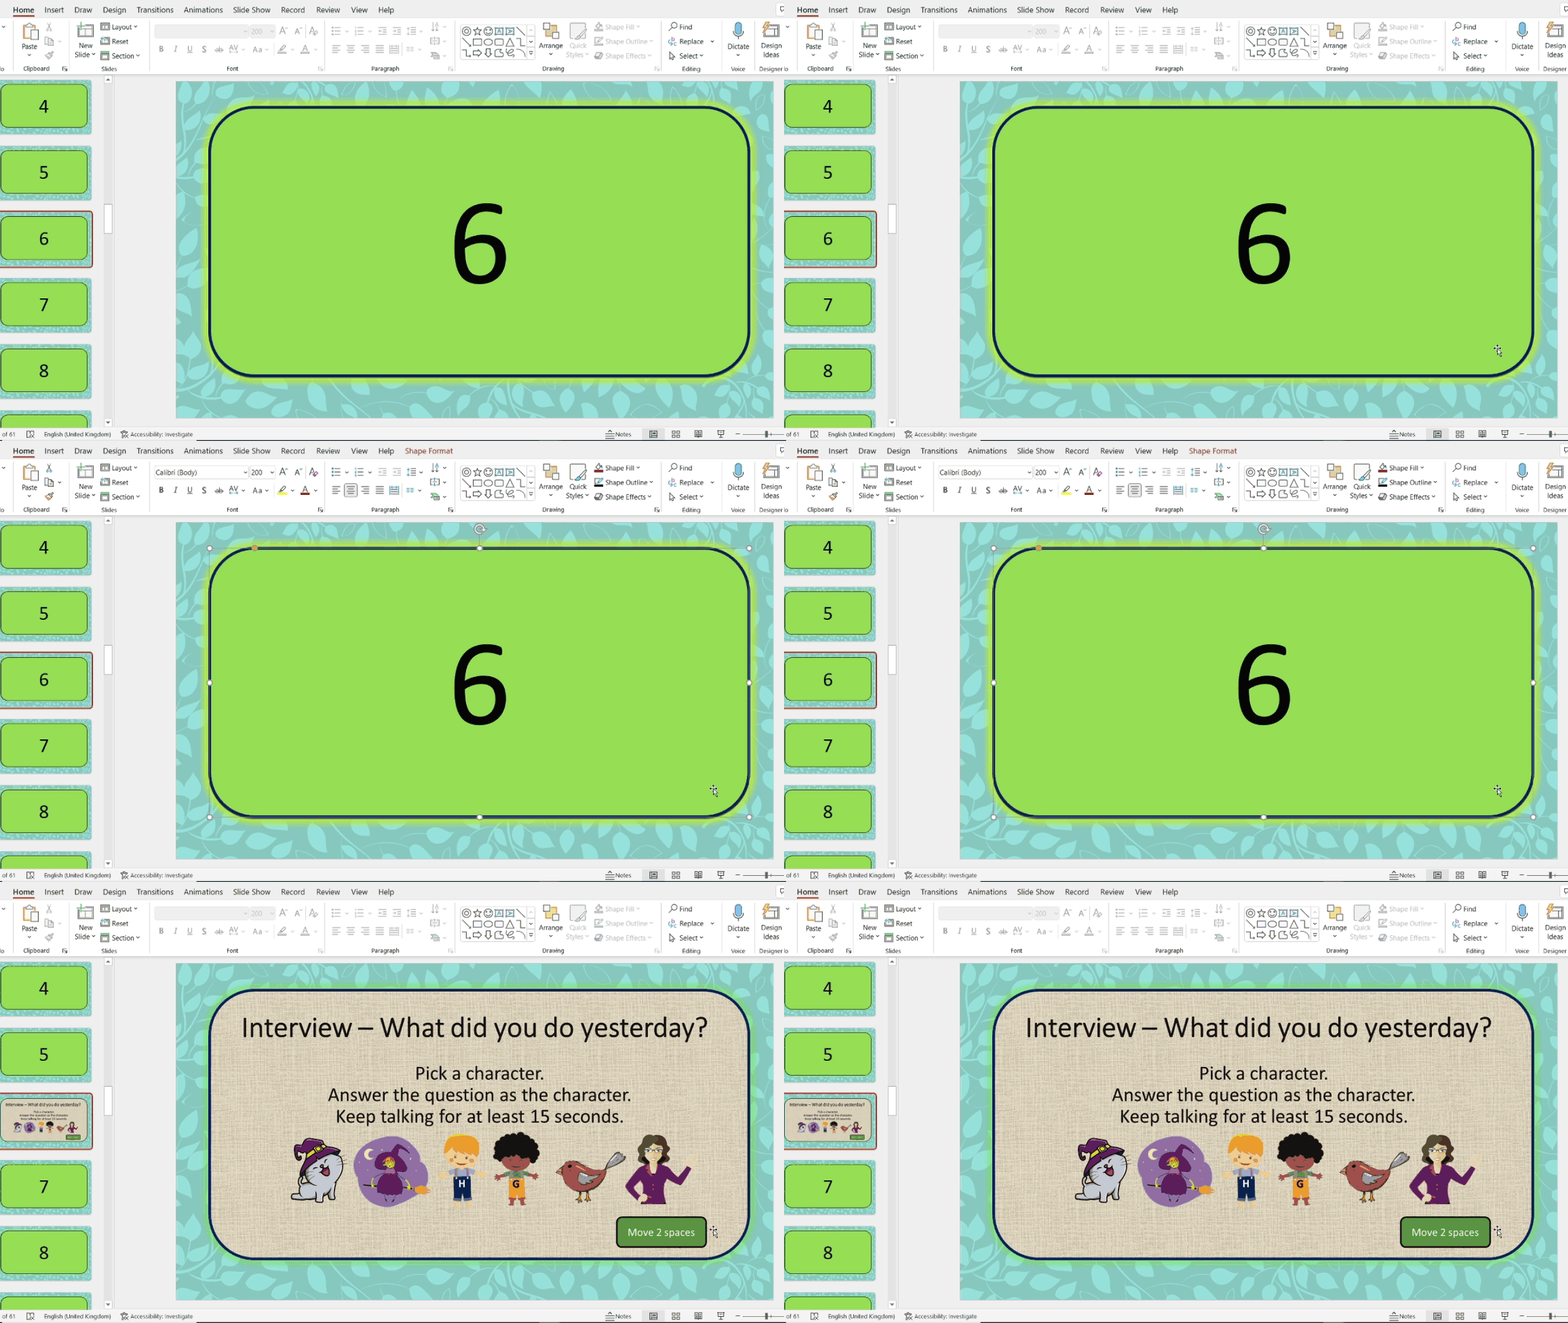
Continue making cards until you have a large selection for each category. For 2 – 3 players, make at least 15 – 20 cards for each category. For 4+ players, it is recommended that you make at least 30 cards per category. However, it is possible to play a four-player game with fewer cards depending on the length of your game’s pathway. To help with making cards faster, you may choose to reuse questions students have covered in previous worksheets / lessons. For larger classes, group students together so that they can work as a team.
TIP! If you are making cards that test spelling, follow these steps to remove the squiggly red line underneath incorrect words. Click on each text box while holding down shift and then press Ctrl + G to group the text boxes together. Then press Ctrl + C to copy them. Finally, right click anywhere on the slide and select the paste option Picture. You can then delete the original text boxes.
TIP! For quiz based questions, you can put the correct answer under the move rectangle. After a student has answered the question, you can delete the rectangle to reveal the correct answer.
TIP! You can add images and other effects to your cards to make them more visually appealing. Experiment to find what style works best for you and your students.
Congratulations! You’ve now finished making your board game!
Would you like to try playing an example board game before you make your own? Click here to download an example diceless board game

